Clone stamp

Have you heard about clonestamp? Clone stamp removes or replicates objects in the picture.

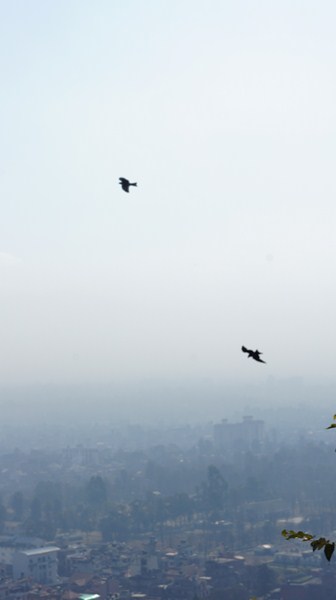
In my case I removed the birds from this original picture.
How do you do that?

Step 1. Open Photoshop and open the picture you want to edit.

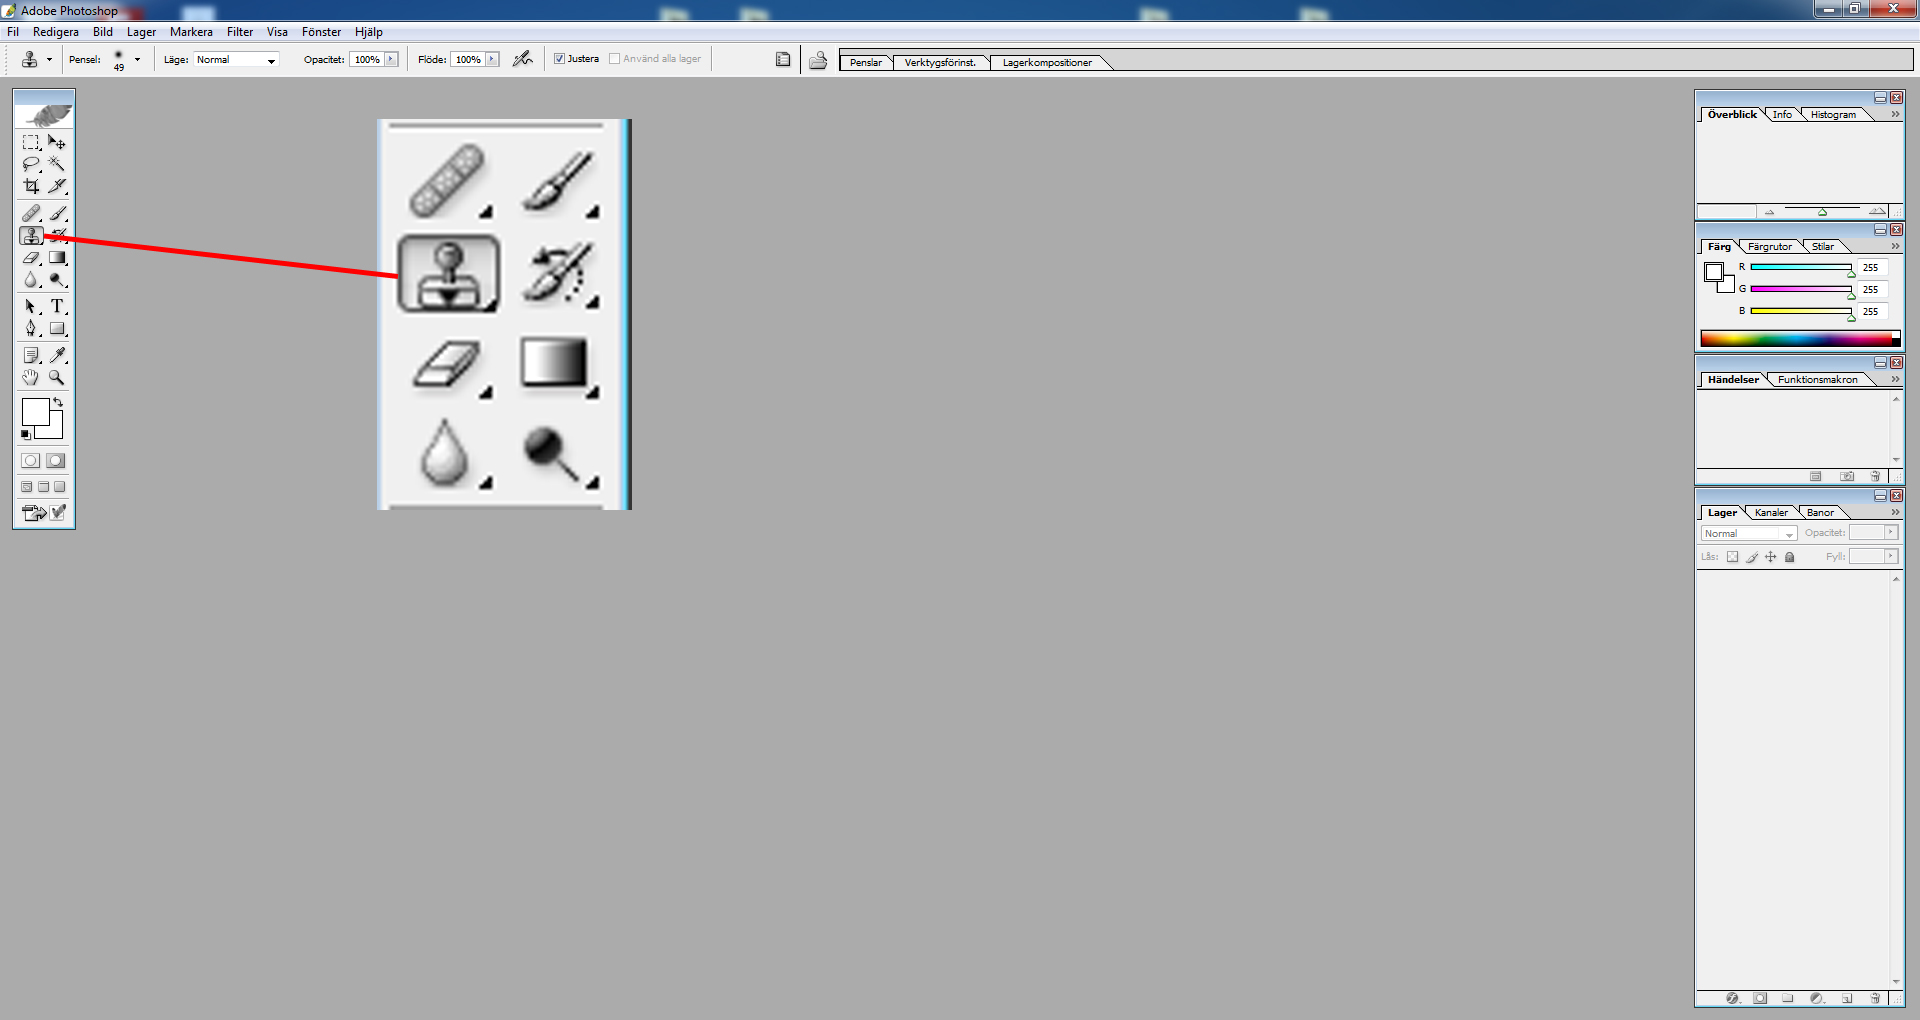
Step 2. Open the clone stamp as shown in the picture.

Step 3. Hold ‘Alt’ while you click on the bird, one time.

Step 4. Unhold  ‘Alt’ and then click with the left mouse button anywhere on the picture.


Original picture


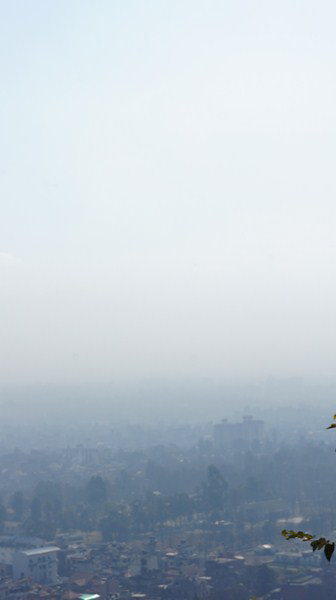
And here you see the final version, there are no birds!

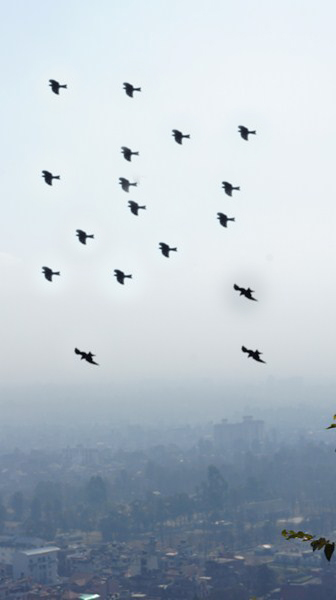
Here I added some more, I cloned the birds.


Posted in Photoshop tips | Tagged , , , , , , , | Comments Off on Clone stamp

System camera

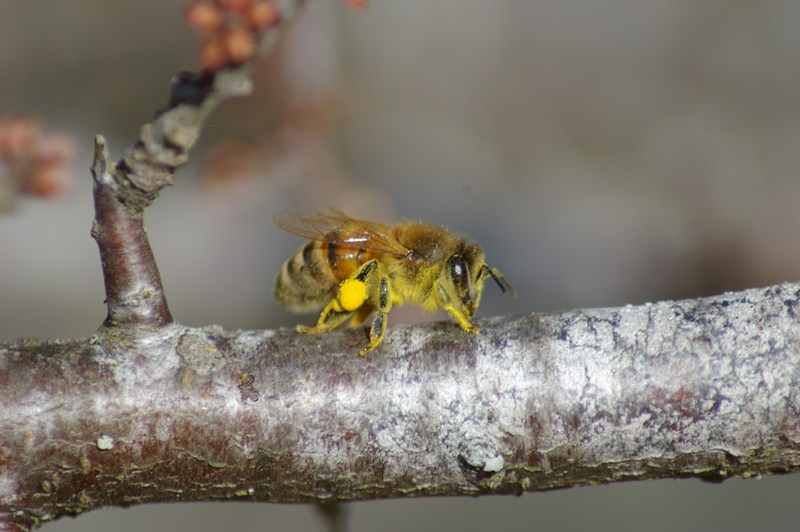
I use a Pentax *ist DL system camera and it works fine for me. Almost all pictures are taken by my camera. A couple of days ago I purchased a new camera lens, a Tamron AF 70-300 mm f/4-5.6 LD Di macro for about 167 (Euro). A very good price and it has a macro function too.

Here is a picture I took of a honey bee with a macro setting.


Posted in Home | Tagged , | Comments Off on System camera

Send photos using winRAR

Do you often attach pictures one by one when you have a lot of them to send by e-mail?

Try WinRAR and you can make a RAR file with any picture you want. Then you only have to send one file instead of many.
Get WinRAR here, http://www.rarlab.com/download.htm and choose your language.

1. Install the program.

2. Select the photos you want to compress, right click on the photos and then click on “Add to archive”.

It’s easy, isn’t it?


Posted in Photo tips | Tagged , , , , , | Comments Off on Send photos using winRAR

Image rotation

If you have a lot of pictures you want to rotate you can first select those pictures you want to rotate and then right click on them. Then select either to rotate picture clockwise or counter clockwise.

Hold “Ctrl” and then click “A ” to select all pictures in the file were you save them or hold “Ctrl” and then left click on those pictures you want to select.

Posted in Photo tips | Tagged , , , , , , , , | Comments Off on Image rotation

Update

I have been adding more pictures to all categories except ‘Urban’.
The ‘Nature’ category is the largest with more then 400 pictures.
Almost every picture you see here is shot by my Pentax system camera.

Posted in Home | Comments Off on Update

Home

Welcome to DigitalFreePhotos.com!

This is a website for you who search for pictures and want to use them, totally free of charge. Here you will find all kinds of pictures, anything from nature to urban views.
You can use these pictures private for non-commercial use and all I want from you is a link back to my website.

If you have any questions please send me an e-mail to info [at] DigitalFreePhotos.com

Posted in Home | Tagged , , , , , , , | Comments Off on Home

Image resize

Are you the one who allways shrink your photo picture by picture? Do you want to save time and make it easier to shrink ALL pictures at once?

Try VSI Image Resizor
Download it at
http://www.obviousidea.com/windows-software/light-image-resizer/

I have been using it for a long time and when i found it I was very happy. It saved me alot of time and it makes so much easier. And yes, i’m still using it.

Step 1:
Download the file, the file size is around 9 mb.
http://www.obviousidea.com/windows-software/light-image-resizer/


________________________________________________________

Step 2:
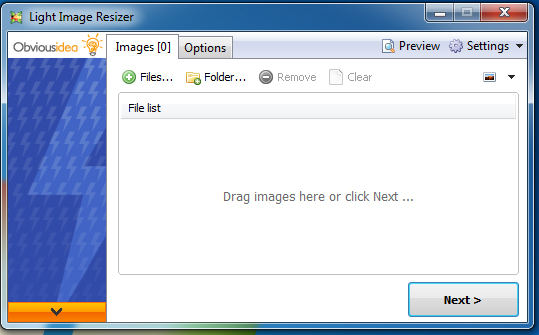
When you open the program a pop-up dialog will show that you use a trail version. Just click continiue. And every time you open VSO image resizor you will have to wait more and more seconds. You can bye the program if you want to.
________________________________________________________

Step 3:
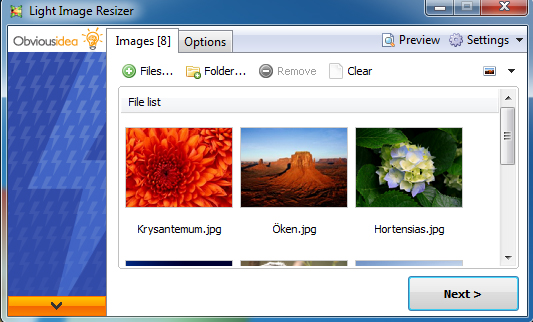
Click on “files” and select pictures you want to resize.

________________________________________________________

Step 4:
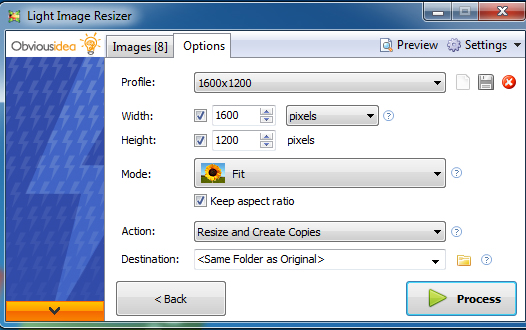
Now click on “options”. Here you can choose how much you want to resize these photos, click “profile”. There are alot of options to resize images for example 50% or in my case 1600×1200 pixels.
Step 5:
You can click “Process” if you want that the destination of your photos to be in the same map as the original photos or choose “Destination” and browse.
I will just click “Process”.

A dialog box will pop-up, first:
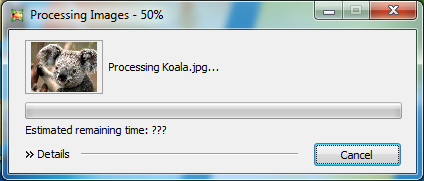
This will show you how much time is left.

Next this pop-up windows will appear:
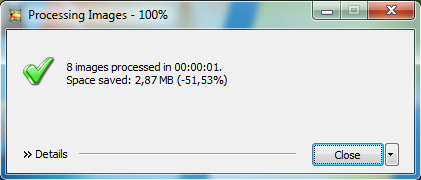
I hope you will enjoy VSO image Resizor and I hope this tutorial was good enough for you. Otherwise send me a mail if you have any questions.
 

Posted in Photo tips | Tagged , , , , , | Comments Off on Image resize